Start here
The big picture
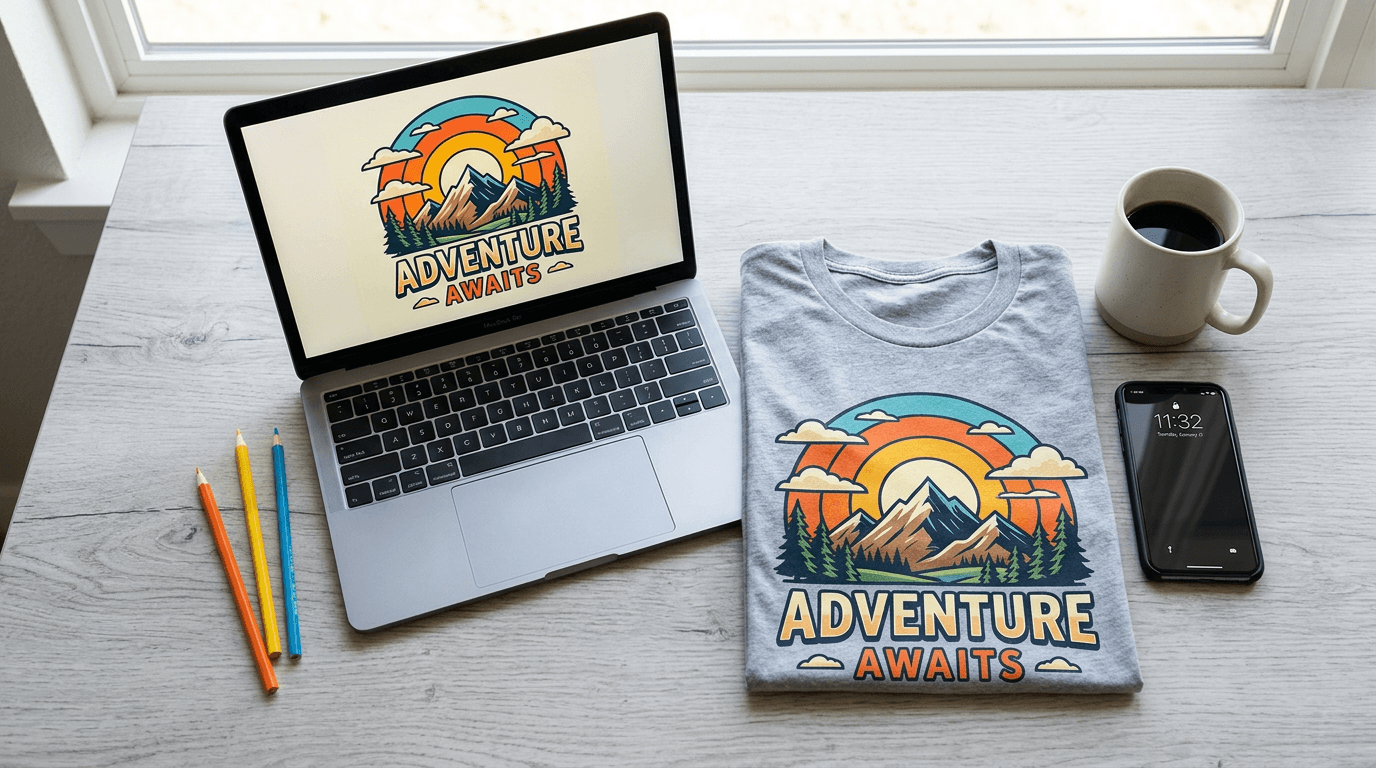
VibeShirt turns words into wearable art. You describe what you want, an AI draws it, and we print it on a real product and ship it to you. Tap a step to explore.
There are two main things people do here. Some come to make something for themselves: a birthday shirt, a team hoodie, a gift. Others come to create and sell: they publish designs to the VibeShirt marketplace or their own store and earn on every sale. You can do both, and this guide covers each path.
Getting started
Accounts & design credits
You can start designing right away without an account. Creating a free account unlocks saving, publishing, and a daily credit refill.
What credits are
Each AI generation or edit uses design credits. Your balance is always shown below the chat box and in the header.Guests
Get a starter balance to try things out. Your work is tied to this browser until you sign up.Signed-in members
Get free credits every day. Your balance refills to the daily amount at the time shown under the chat box.Nothing is lost
Designs you made as a guest carry over when you create your account from the same browser.
Creating an account
Tap the Account icon
It is the person icon in the top right of every page.Choose Sign up
Enter your email and a password, or use one of the other sign-in options offered.Confirm your email
Open the email we send and tap the link. You will be signed in automatically.You are set
Your guest designs, chats, and cart are linked to your new account, and your daily credits begin.
Designing
Two ways to design
Both tools create the same printable artwork. Pick the one that matches how you like to work, and switch any time.
Easiest
Chat Designer
Talk to it like a person. Describe an idea, then ask for changes in plain language. Best for beginners and quick ideas.
Open Chat DesignerMost control
Product Designer
A visual editor with the shirt in front of you. Upload art, add text, arrange layers, and design front, back, and sleeves.
Open Product DesignerDesigning
Using the Chat Designer
The Chat Designer is the home page of VibeShirt. Every conversation is saved in the sidebar so you can come back to it.
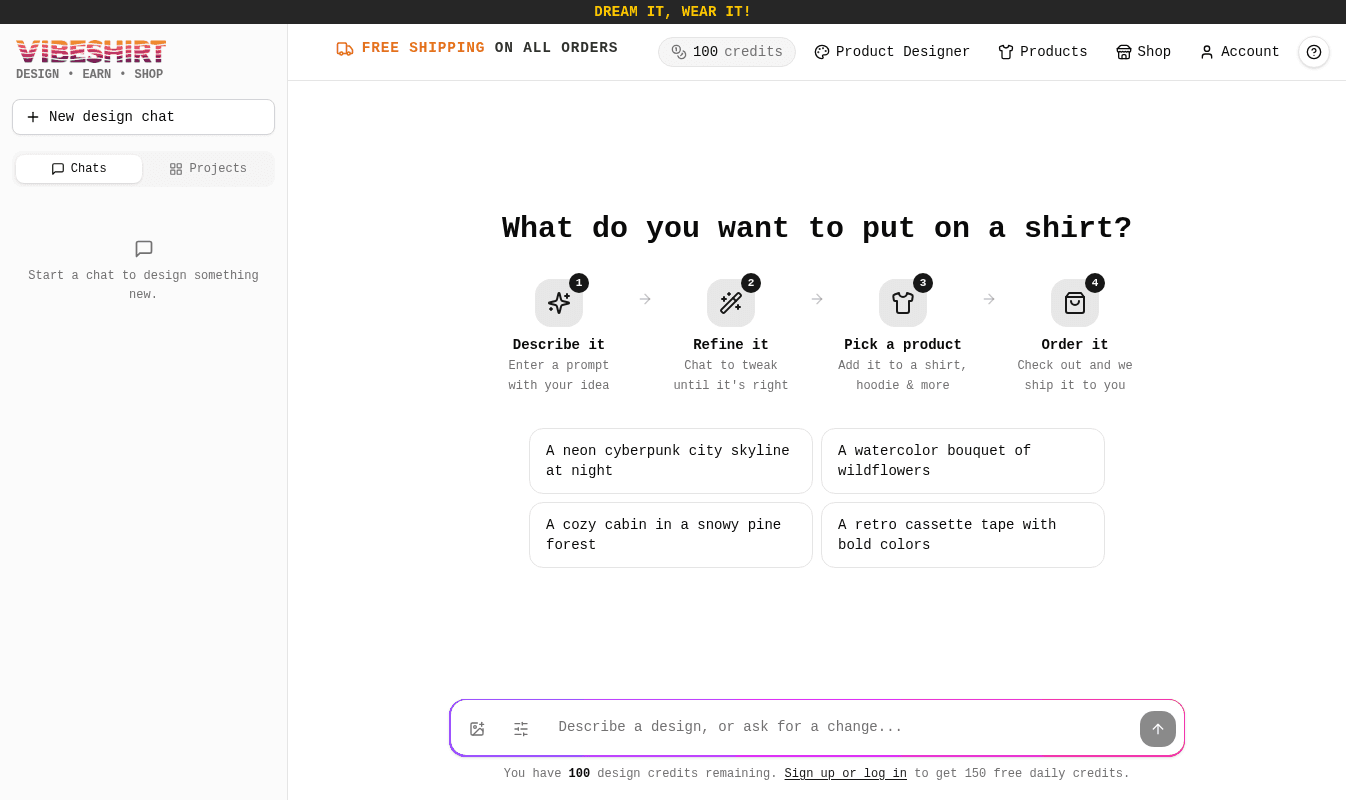
Step 1: Describe your design
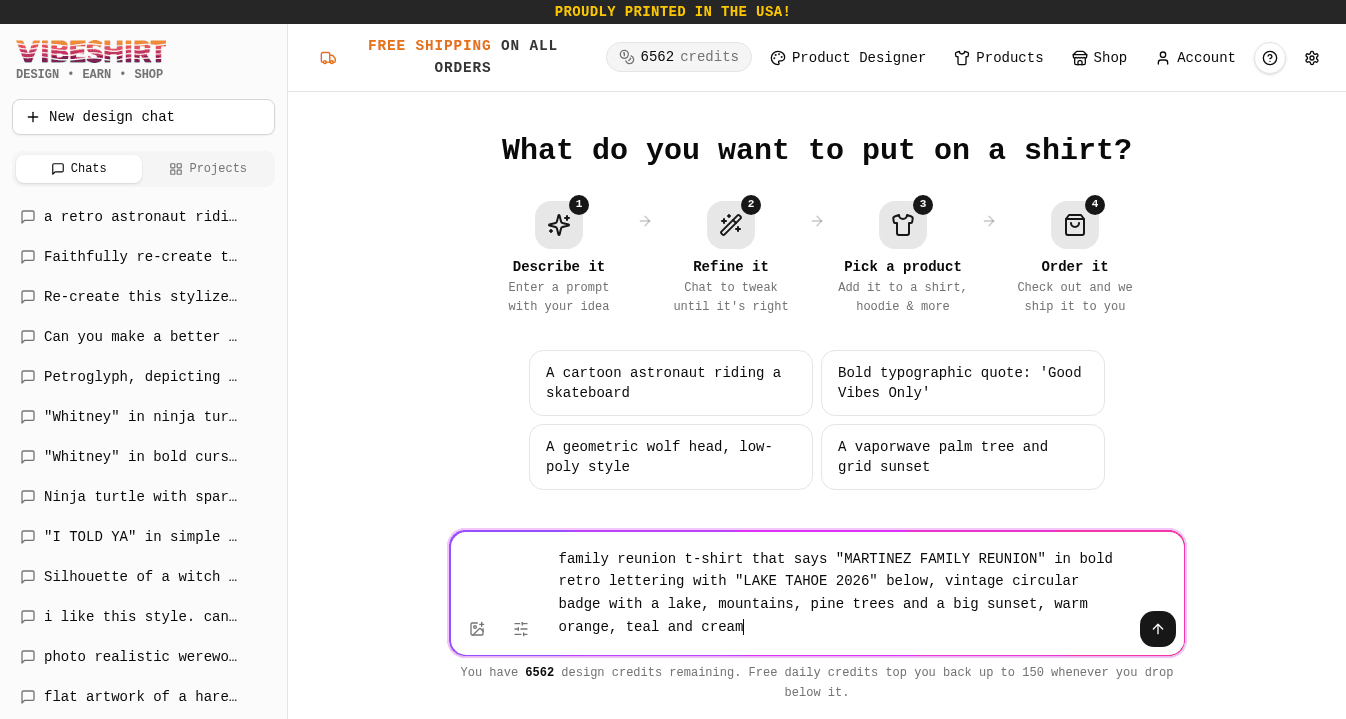
Step 2: Get your first design
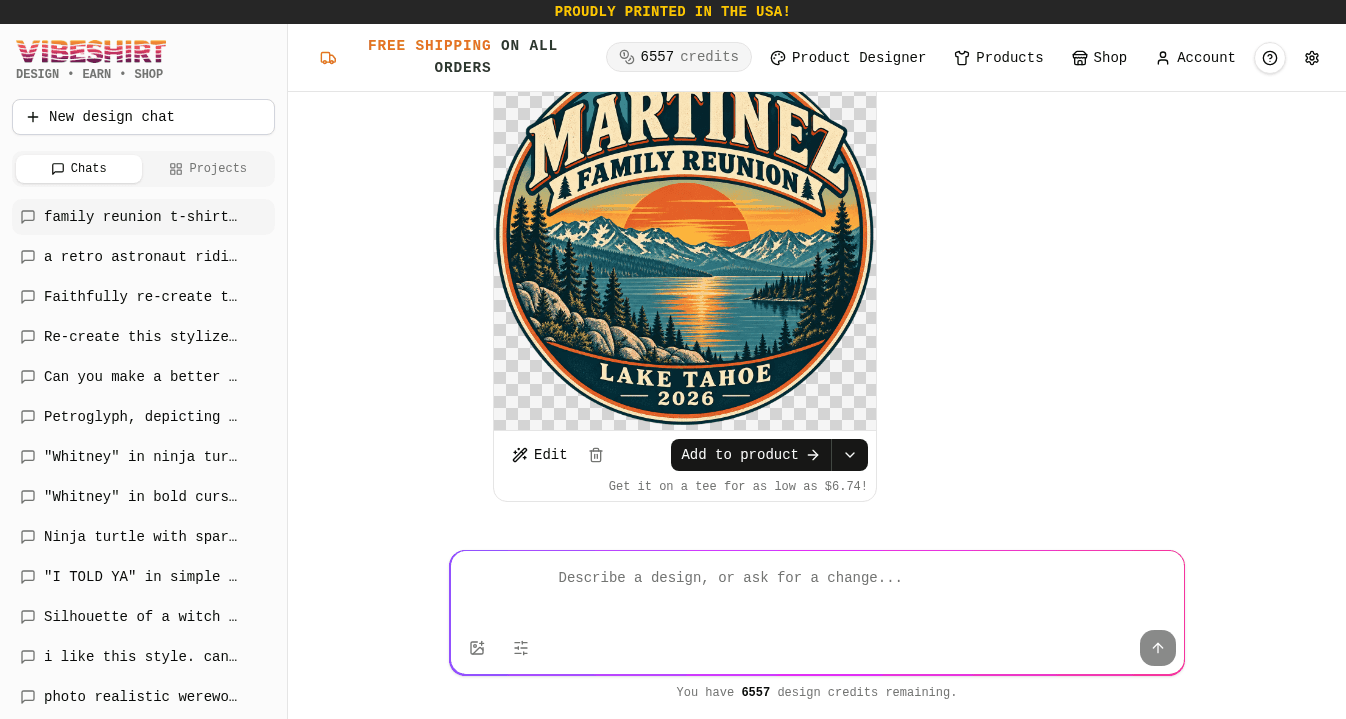
A few seconds after a new design appears, a preview pops up showing it on a white tee with quantity pricing. Tap Keep designing to close it and keep chatting, or Go to product designer to start building your product.
Step 3: Ask for changes
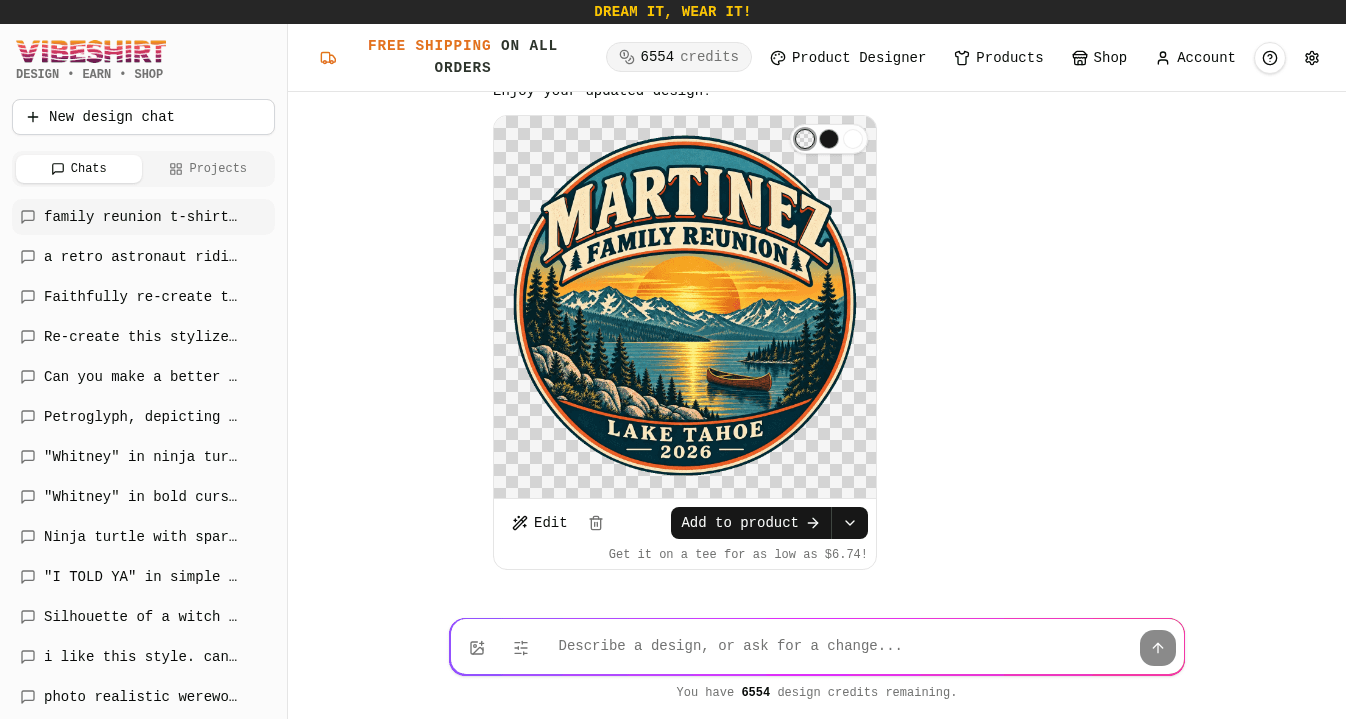
Each reply builds on the latest image. Other requests that work well: "change the year to 2027", "make the outlines thicker", "add our family crest in the center".
Step 4: Put it on a product
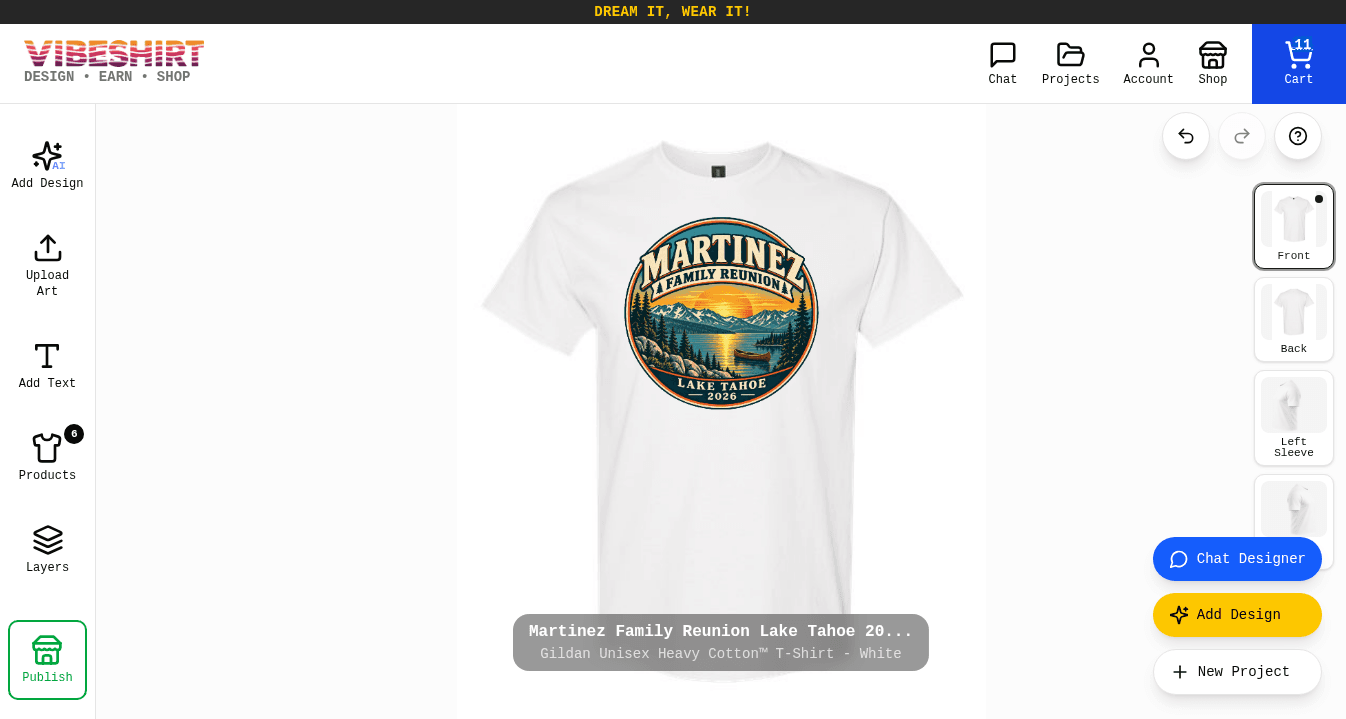
Use the arrow beside Add to product to choose Add to a new project or Add to current project, which drops the design into the project you already have open. From here you can order it or publish it to your store.
Tools around the prompt box
Reference image
Attach a photo or sketch (PNG, JPG, or WEBP up to 10MB) so the AI can use it as inspiration, for example your dog or a hand-drawn logo.Image settings
Choose dimensions (square, tall, wide, or custom) and whether the background should be transparent.Edit a prompt
Change something you already sent and resubmit it to get a fresh result.Copy
Copy a prompt you liked to reuse it in another chat.Delete
Remove a prompt and its design to keep a chat tidy.New design chat
Start fresh any time from the sidebar. Old chats stay saved.
The image editor
Open any generated design to get precise editing tools. These are great when you want to change one part of an image without redoing the whole thing.
Region
Draw a box around an area and describe what should change only there.Markup
Paint over a spot and add a note, like 'make this hat red'.Erase
Brush away unwanted bits. Adjust brush size for detail work.Remove BG
Strip the background so only your artwork prints on the fabric.
Designing
Writing great prompts
A prompt is simply the description you type. You do not need special words. Good prompts answer four questions. Watch one come together:
Start with a blank prompt...
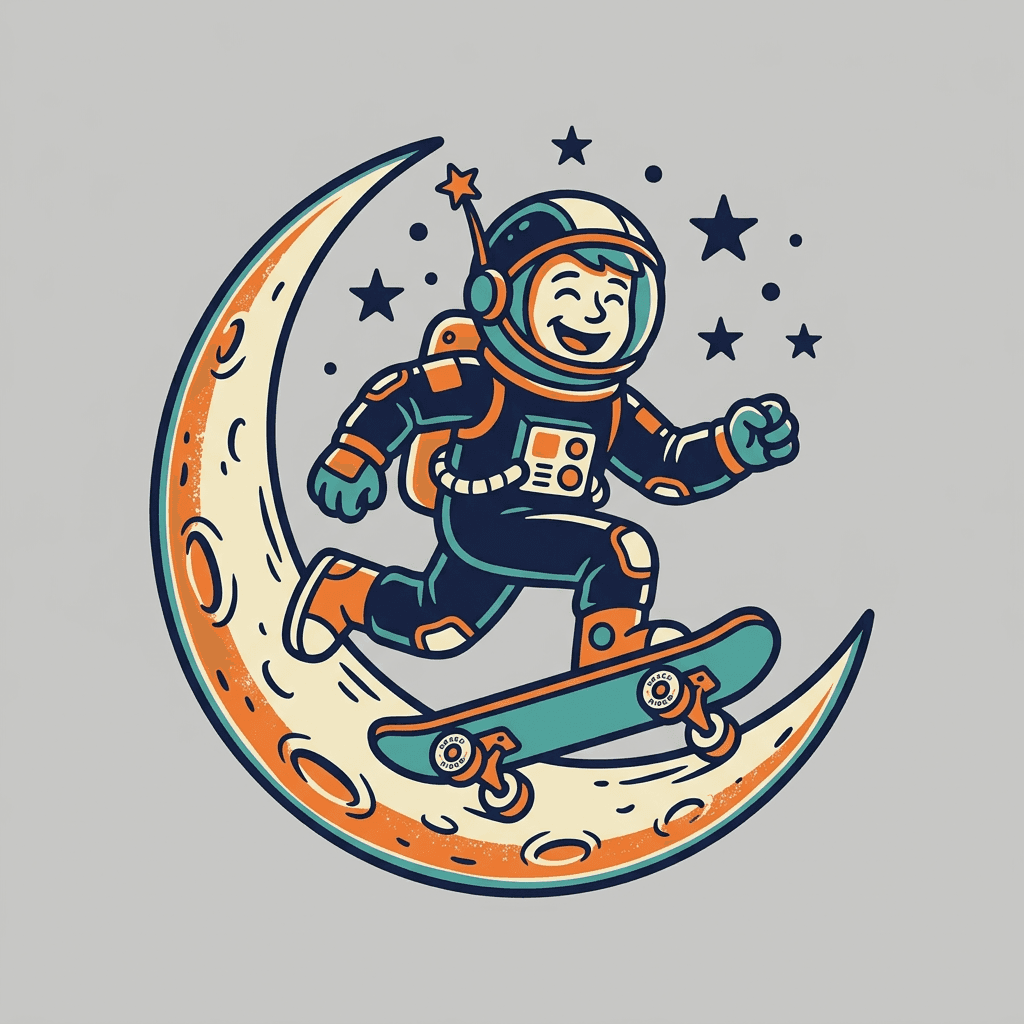
Vague
"a family reunion shirt"
Specific
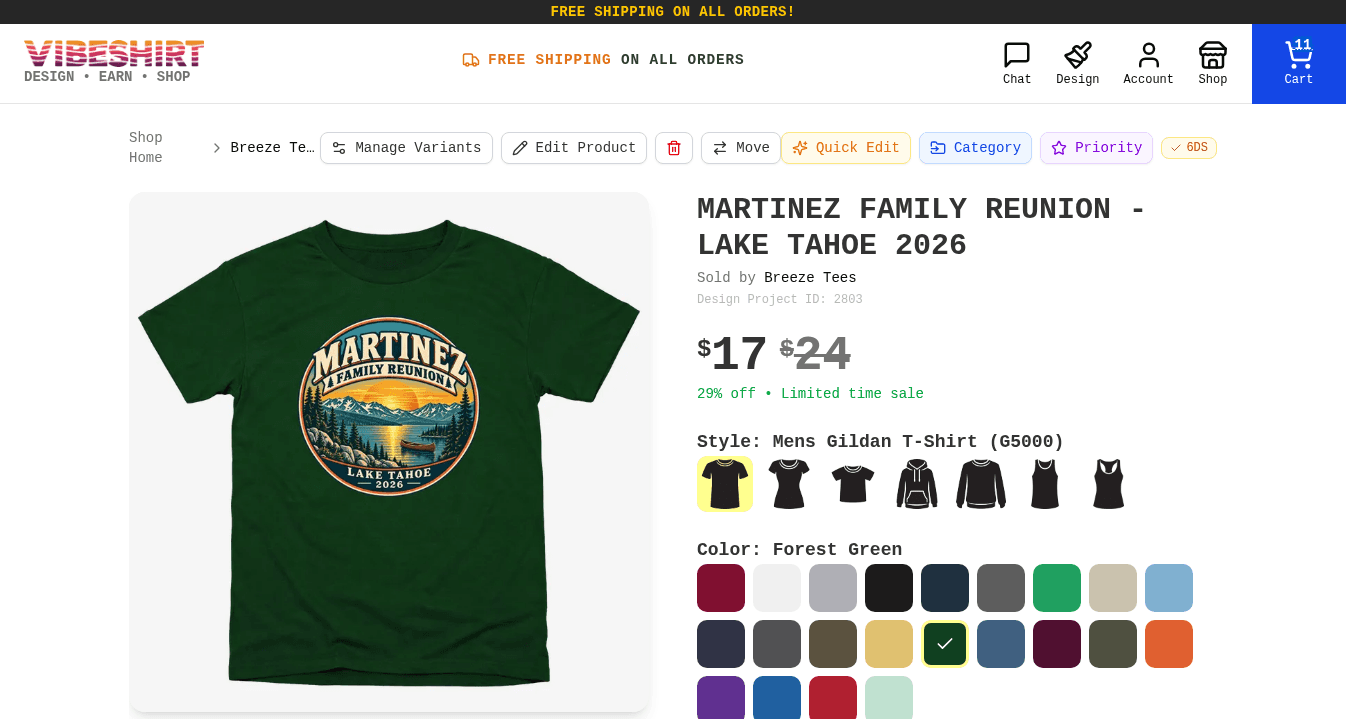
"family reunion t-shirt that says \"MARTINEZ FAMILY REUNION\" in bold retro lettering with \"LAKE TAHOE 2026\" below, vintage circular badge with a lake, mountains, pine trees and a big sunset, warm orange, teal and cream"
Style words that work well on shirts
- vintage distressed
- retro 70s
- minimalist line art
- bold cartoon
- watercolor
- pixel art
- Japanese woodblock
- screen print look
- tattoo flash
- kawaii
- hand lettered
- badge or emblem
Designing
Using the Product Designer
The Product Designer shows your actual product while you work. The toolbar on the left holds every tool, and the views on the right switch between front, back, and sleeves.
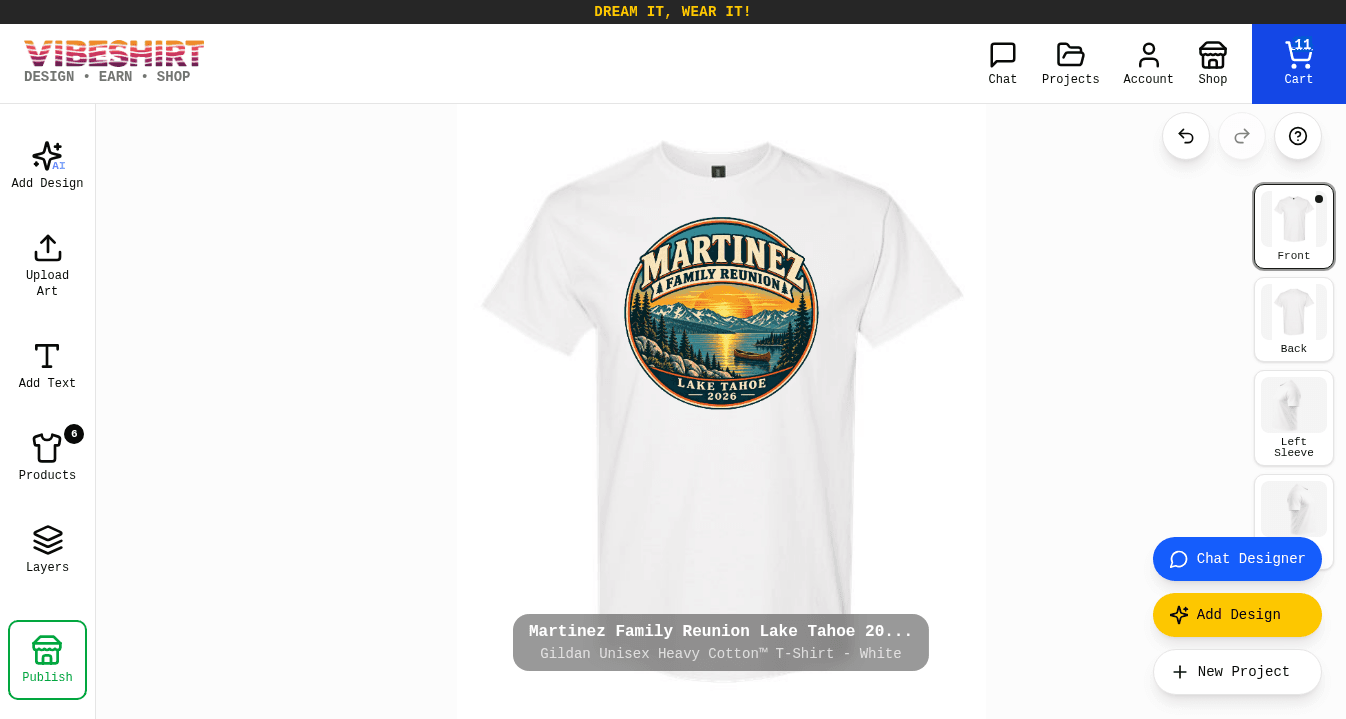
Add Design (AI)
You can also generate art without leaving the Product Designer. Design Presets apply a ready-made style, and Text Only and Graphics Only tell the AI whether you want lettering, a picture, or both. Analyze reads an inspiration image you provide, and Enhance rewrites a short description into a richer prompt. Tap Generate Design and the result is placed on the shirt automatically.
Edit Image
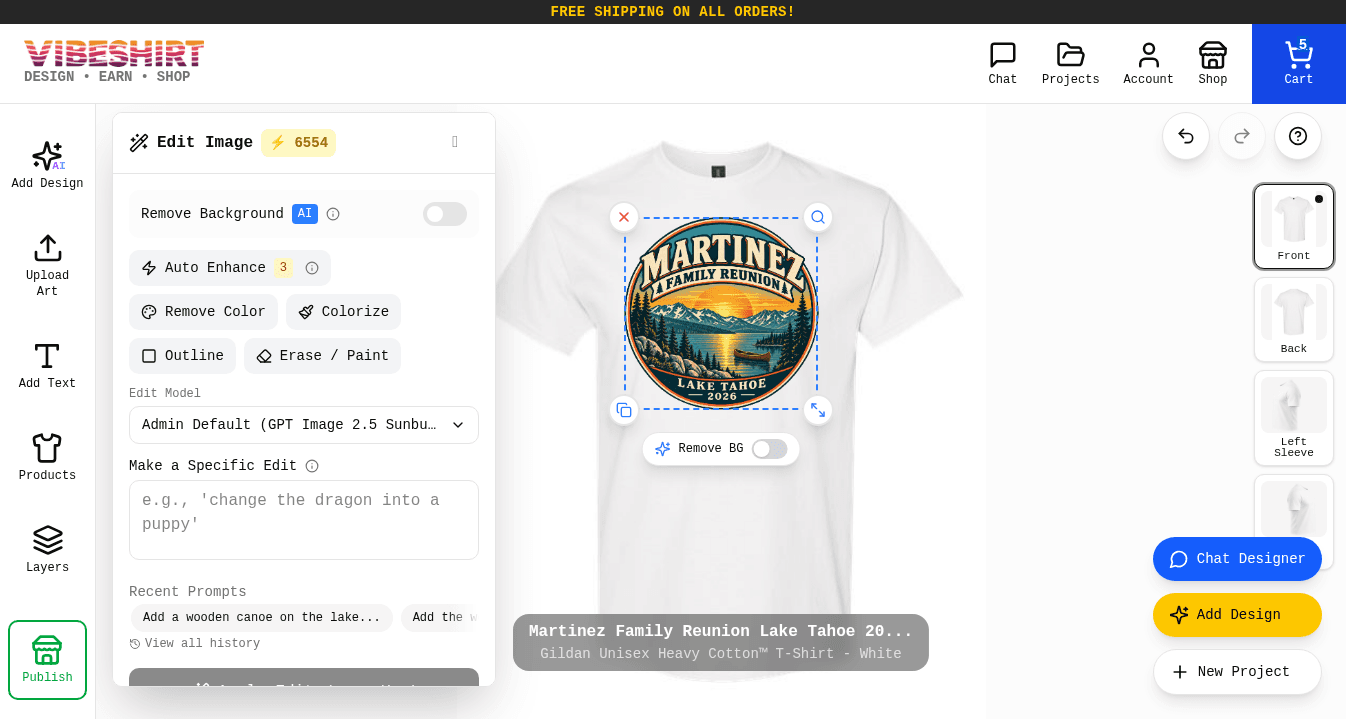
Remove Background leaves only your artwork. Auto Enhance sharpens it for print, and Remove Color, Colorize, and Outline restyle it in one tap.
Make a Specific Edit works like a chat reply: describe one change, such as a new year or name, and the rest of the design stays the same.
Upload Art
Use your own PNG, JPG, or SVG. Transparent PNGs look best. Only upload images you own or have permission to use.Add Text
Prefer to place words yourself? Type them, tap Add To Design, then choose a font, color, and size.Layers
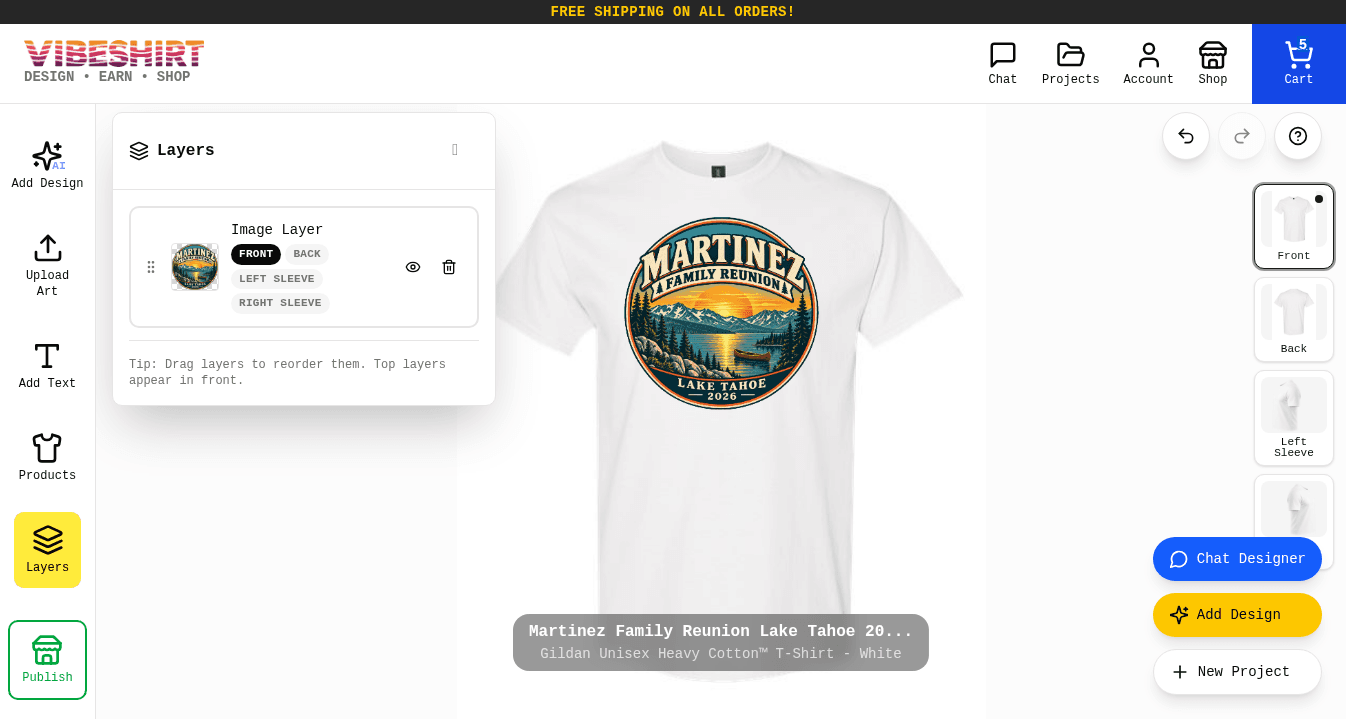
See every element on the shirt. Reorder what sits on top, select hard-to-reach items, or delete them.Front, back & sleeves
Tap a view on the right to design that side. Each side is its own print area.
Designing
Making artwork that prints well
We print with direct-to-garment (DTG) printing: ink is sprayed straight into the fabric like a giant inkjet printer, so prints are soft, colorful, and do not crack or peel.
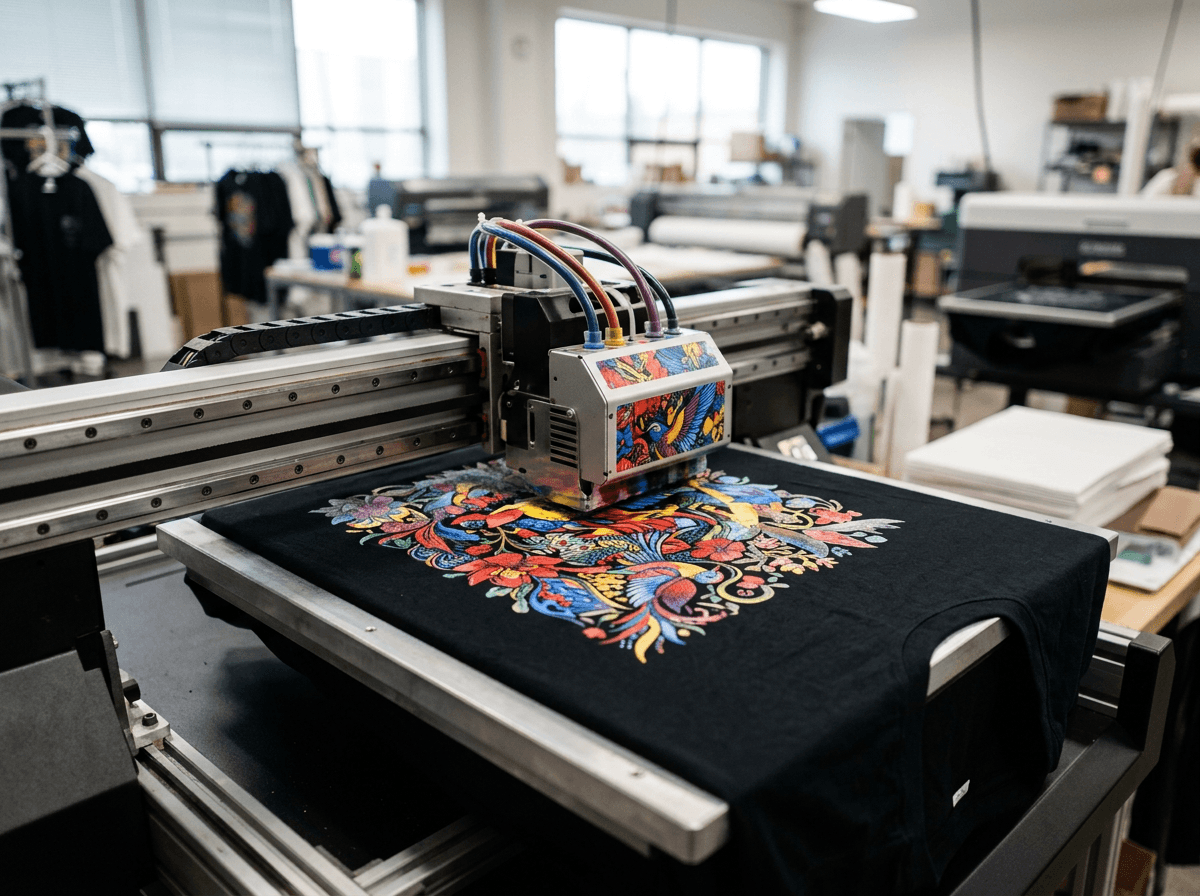
Because the printer prints exactly what it sees, anything in your image prints, including a background. If you want only the artwork on the shirt, make the background transparent with Remove BG or the transparency setting.
On dark shirts, light and bright artwork pops. On light shirts, darker or saturated colors stand out. Screen colors can look slightly different from ink on fabric.
Prints great
- Transparent or plain background
- Large, high resolution artwork
- Strong contrast with the shirt color
- Short, readable text
Avoid
- Busy photo background that prints as a rectangle
- Small or blurry images stretched to fit
- Dark art on a dark shirt
- Tiny paragraphs that blur when printed
Products
Choosing products, colors & sizes
Once you have a design, choose what to put it on. Open Products in the Product Designer, or tap Add to product in the chat.
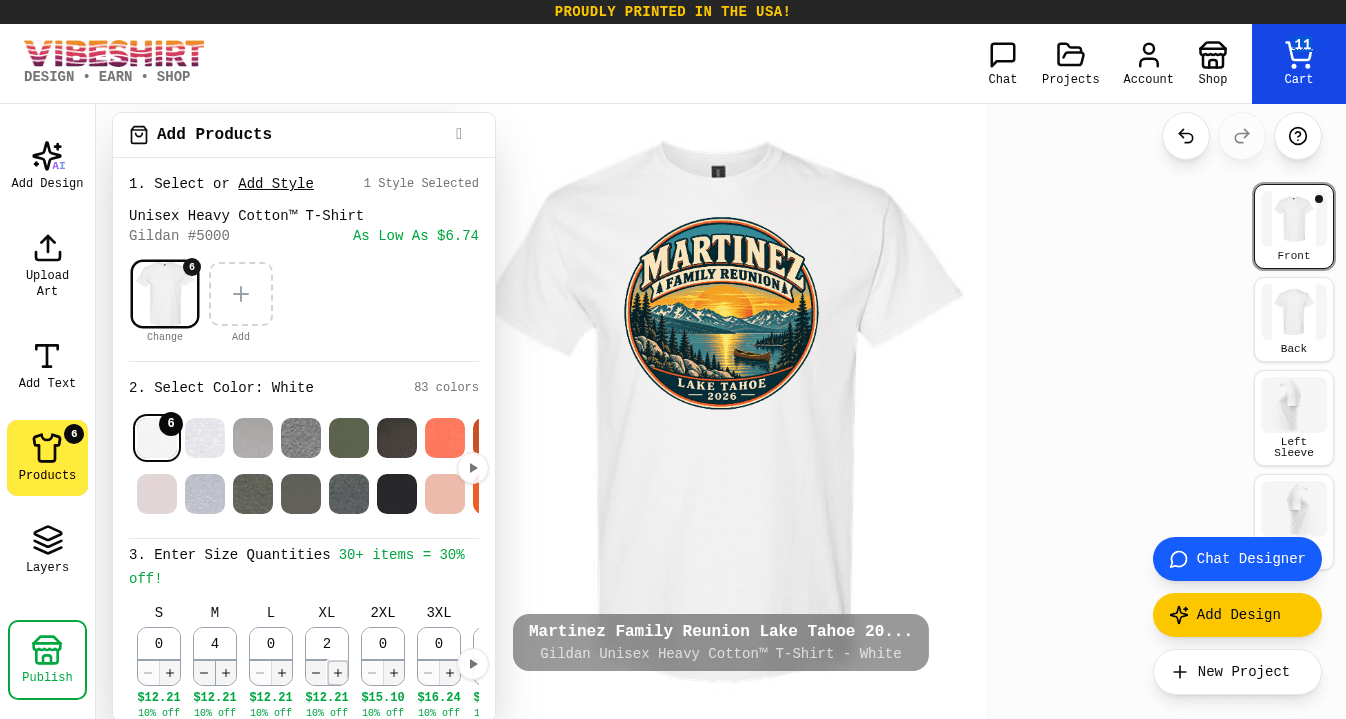
Select a style
Start with the default tee or tap Add Style to browse hoodies, long sleeves, tanks, and more. You can add several styles to one design.Select a color
Swipe through the swatches. The shirt preview changes instantly so you can compare.Enter quantities
Type how many you want in each size. Larger sizes may cost a little more, and bulk discounts apply to bigger orders.Add to cart
The button activates once you have entered at least one quantity.
Ordering
Checkout & delivery
Review everything in your cart, then check out securely. Here is what happens after you pay:
Checkout
Pay securely. You get an email confirmation.
Printing
Made to order, usually 2-5 business days.
Shipping
Tracking link emailed as soon as it ships.
Delivered
30-day returns and exchanges if anything is off.
Review your cart
Tap the Cart icon. You can browse each item, change quantities, or remove things. Sales tax is calculated at checkout.Check out
Enter your shipping address and payment details on our secure checkout page.Track your order
You will get a confirmation email, then a tracking email when it ships. Signed-in members can also see orders in their account.
For rates, delivery estimates by country, and our policies, see Shipping & Delivery and Returns & Exchanges.
Selling
Publishing your designs
Publishing turns your design into a product that other people can buy. You earn money every time someone orders it, and we handle printing, shipping, and customer service.
Your published product
Marketplace
Listed in the VibeShirt Shop and your store. Anyone browsing can find it. You earn your tier rate per item.
Store only
Only visible in your store. Add your own upcharge on top of your tier rate for extra earnings.
Sign in
Publishing requires a free account, so your earnings and store have an owner.Tap Publish
In the Product Designer, the green Publish button sits at the bottom of the left toolbar.Check the product details
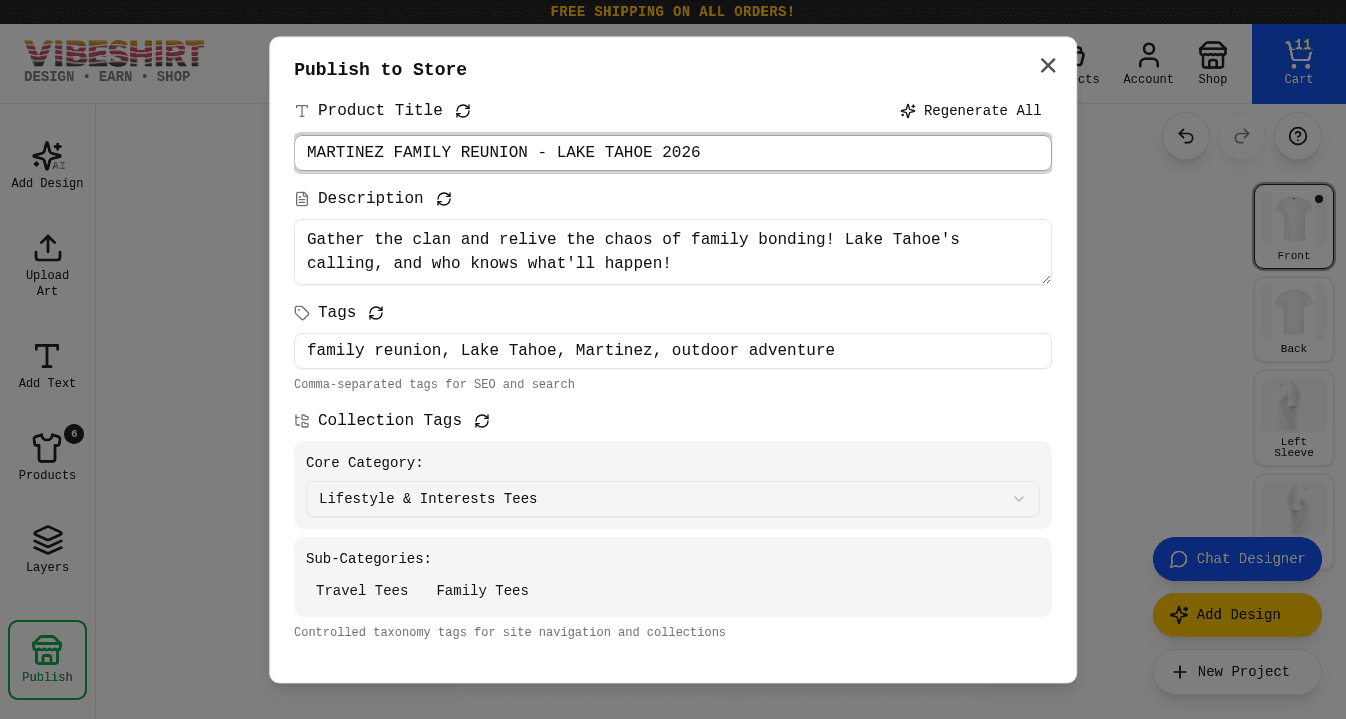
AI writes a title, description, tags, and a collection for you. Edit anything that is not quite right.Pick your store and visibility
Choose which store it goes in, whether it is Store Only, and any upcharge. You see your earnings per item before you continue.Choose colors and styles
The best shirt colors for your art are pre-selected across seven styles. Adjust, accept the terms, and tap Publish To Store.
Step 1: Product details
Step 2: Earnings and visibility
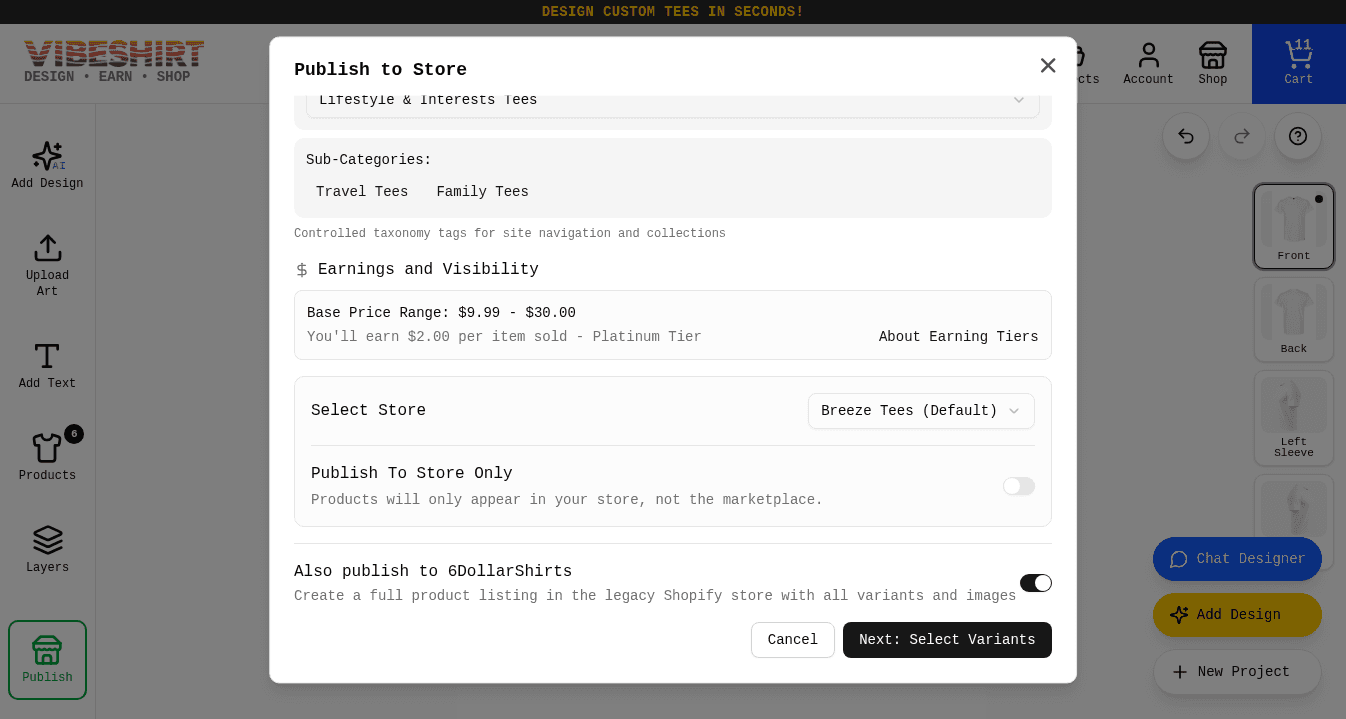
Select Store
If you run more than one store, choose where this product lives. Your default store is pre-selected.Publish To Store Only
Off: the design is listed in the VibeShirt marketplace, too. On: it only appears in your store, and you can add an upcharge.Upcharge Amount
Store Only products can charge extra on top of the base price. You keep the full upcharge plus your tier earnings.Also publish to 6DollarShirts
Lists the product on our partner store, 6DollarShirts, for more reach. Turn it off to keep the product on VibeShirt only.
Step 3: Colors, styles, and publish
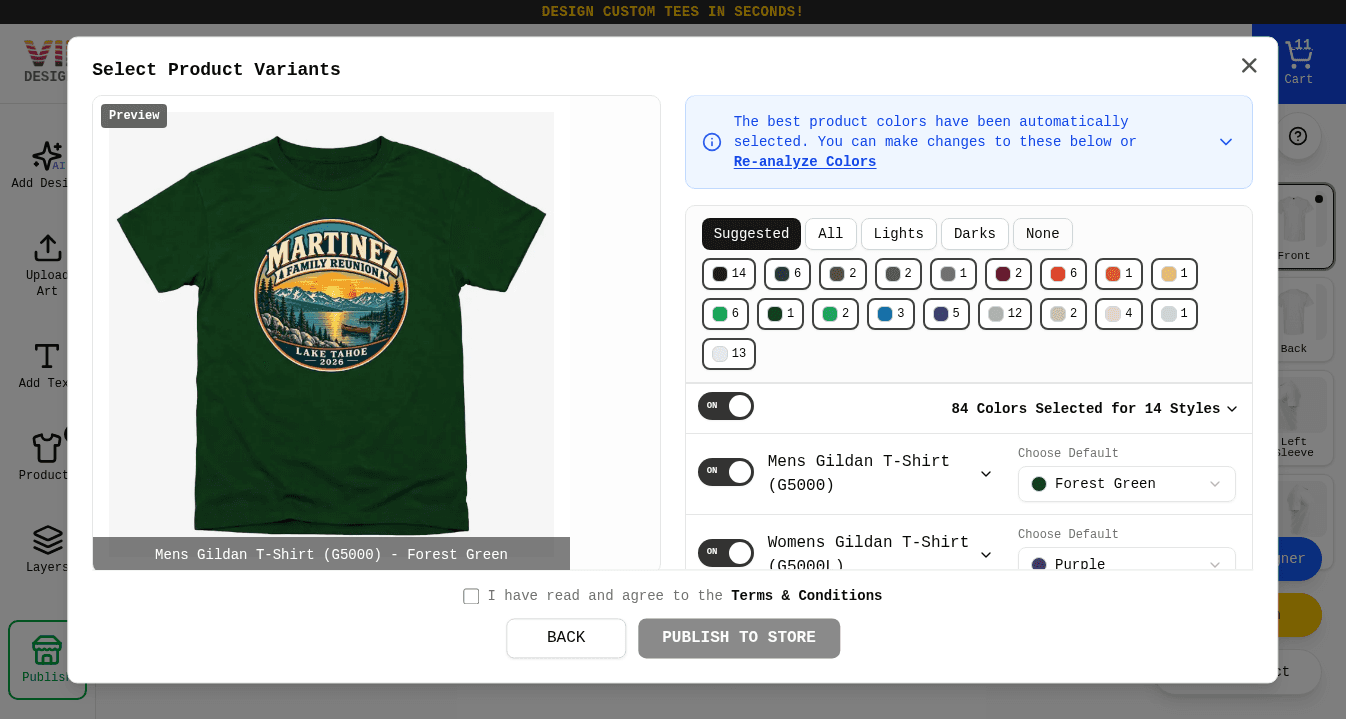
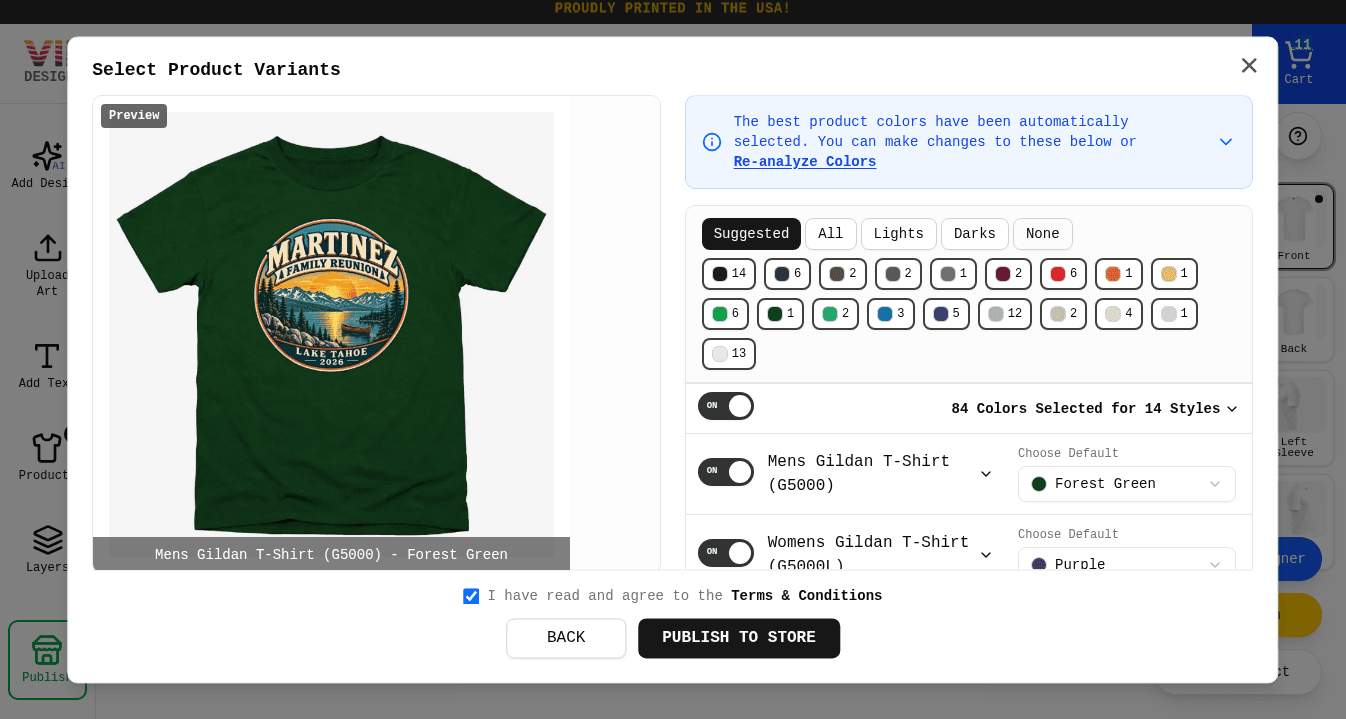
Step 4: Your product is live
Selling
Earnings & tiers
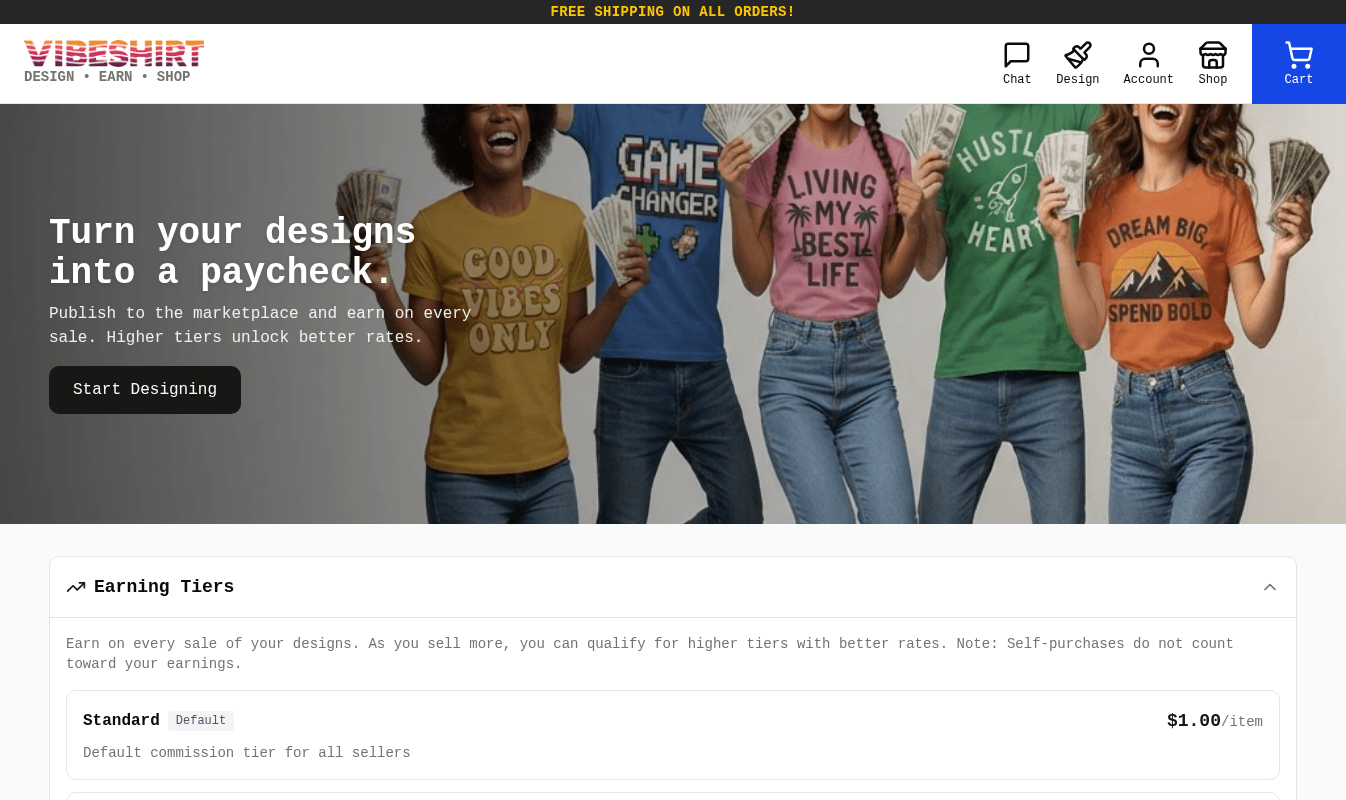
You earn a fixed amount on every item sold. The more you sell each month, the higher your tier and your rate. Upgrades happen automatically.
| Tier | You earn per item | To qualify |
|---|---|---|
| Standard | $1.00 | Everyone starts here |
| Bronze | $1.25 | $100 in monthly sales |
| Silver | $1.50 | $200 in monthly sales |
| Gold | $1.75 | $500 in monthly sales |
| Platinum | $2.00 | $1,500 in monthly sales |
Try the earnings calculator
$1.00 tier + $0.00 upcharge = $1.00 per item x 50
$50.00
Illustration only. Upcharges apply to store-only products. Purchases of your own products do not count toward earnings.
Selling
Your store
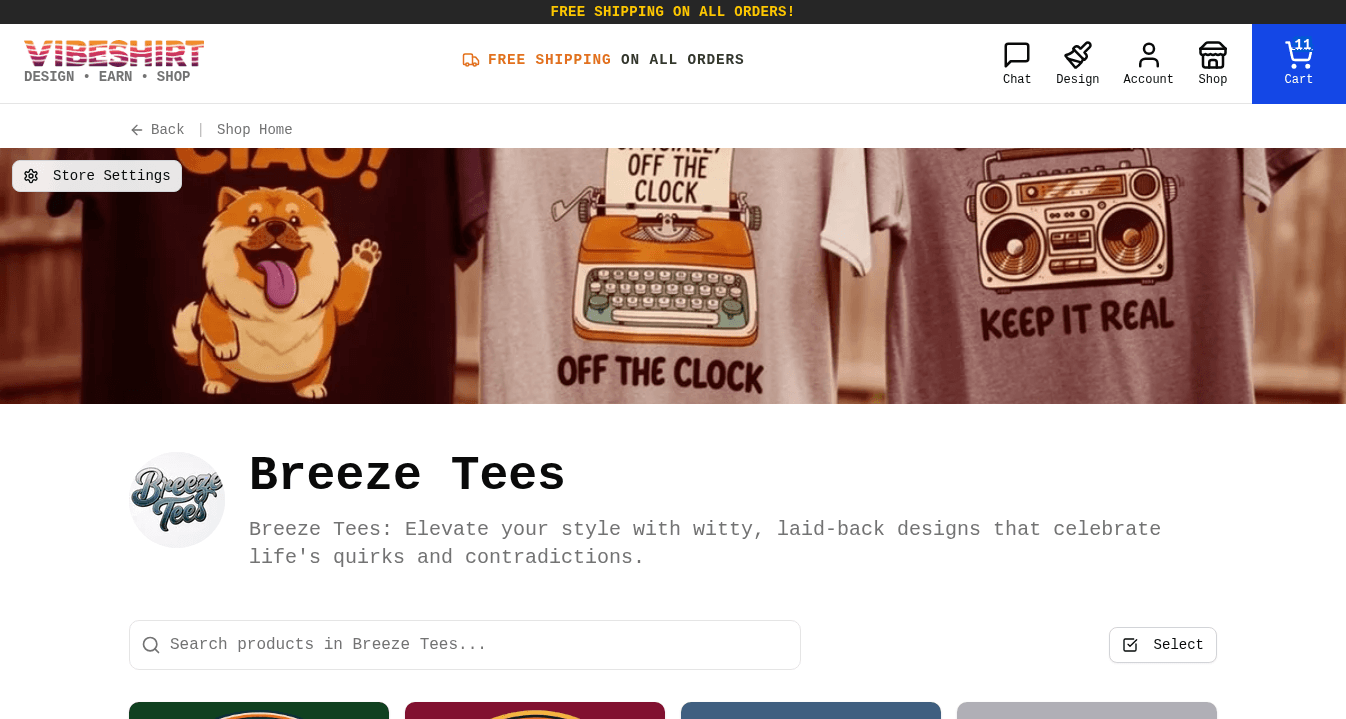
Your store is your own shop page on VibeShirt with its own link you can share.
Name & address
Pick a store name and a short web address like vibeshirt.com/shop/my-store.Branding
Add an optional logo, banner, and description to tell shoppers who you are.Multiple stores
Run separate stores for different themes and move products between them.Discovery
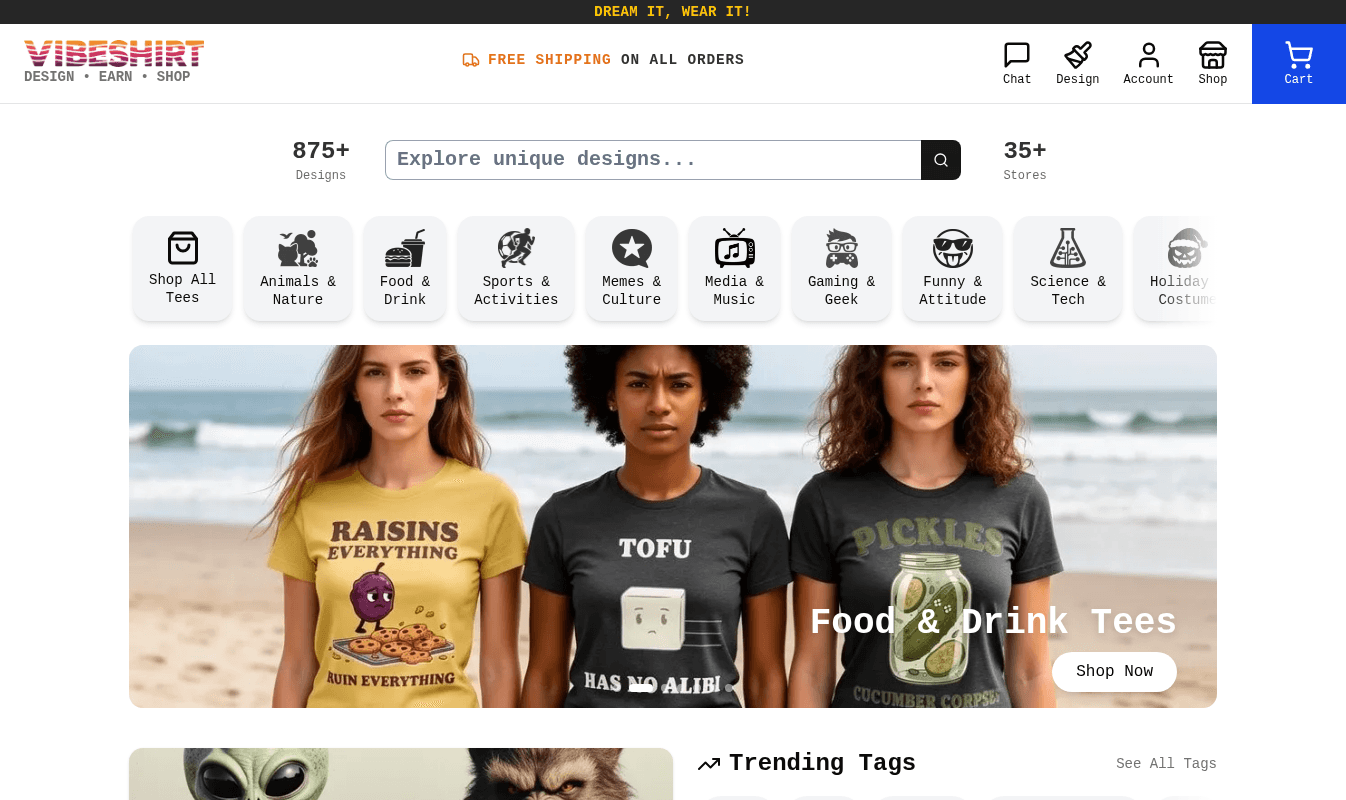
Marketplace products also appear in Shop search, categories, and trending tags.
Manage everything from Account > My Stores, where you can edit store details, publish or unpublish products, and create new stores.
Your work
Projects, history & saved work
VibeShirt saves your work as you go so you never lose a good idea.
Projects
Each product design is a project. Reopen it from Projects to keep editing, reorder, or publish. Organize projects into folders.Image history
Every image you generate, upload, or remove the background from is kept here with its prompt, so you can reuse it.Chats
Every Chat Designer conversation is listed in the sidebar. Pick one up exactly where you left off.Reuse anything
Bring a design from your history into a new project, or copy a prompt that worked into a new chat.
Advanced
API access
Developers and businesses can connect their own apps to VibeShirt to create designs and products programmatically.
API keys
Create and manage keys from the API Access page. Keep them secret, like a password.Documentation
Endpoints, examples, and request formats are listed on the same page.
Reference
Glossary
Plain-English definitions of terms you will see around the site.
- Prompt
- The text description you give the AI to create or change a design.
- Design credits
- The balance used each time the AI generates or edits an image.
- Transparent background
- An image with no background, so only the artwork prints on the fabric.
- DTG
- Direct-to-garment printing. Ink goes directly into the fabric for a soft, detailed print.
- Resolution / DPI
- How much detail an image has. Higher is sharper. Aim for large images, ideally 300 DPI at print size.
- Print area
- The region of a product that can be printed, such as the front, back, or sleeve.
- Mockup
- A realistic preview image of your design on a product.
- Style
- The garment type and brand, such as a classic cotton tee or a pullover hoodie.
- Marketplace
- The public VibeShirt Shop where anyone can find and buy published designs.
- Upcharge
- Extra amount you add to a store-only product's price. It is added to your earnings.
- Tier
- Your earning level. Higher monthly sales unlock a higher per-item rate.
- Layer
- One element of a design, such as an image or text, stacked on top of others.
Support
Still have questions?
We are happy to help with anything, from design ideas to order questions.